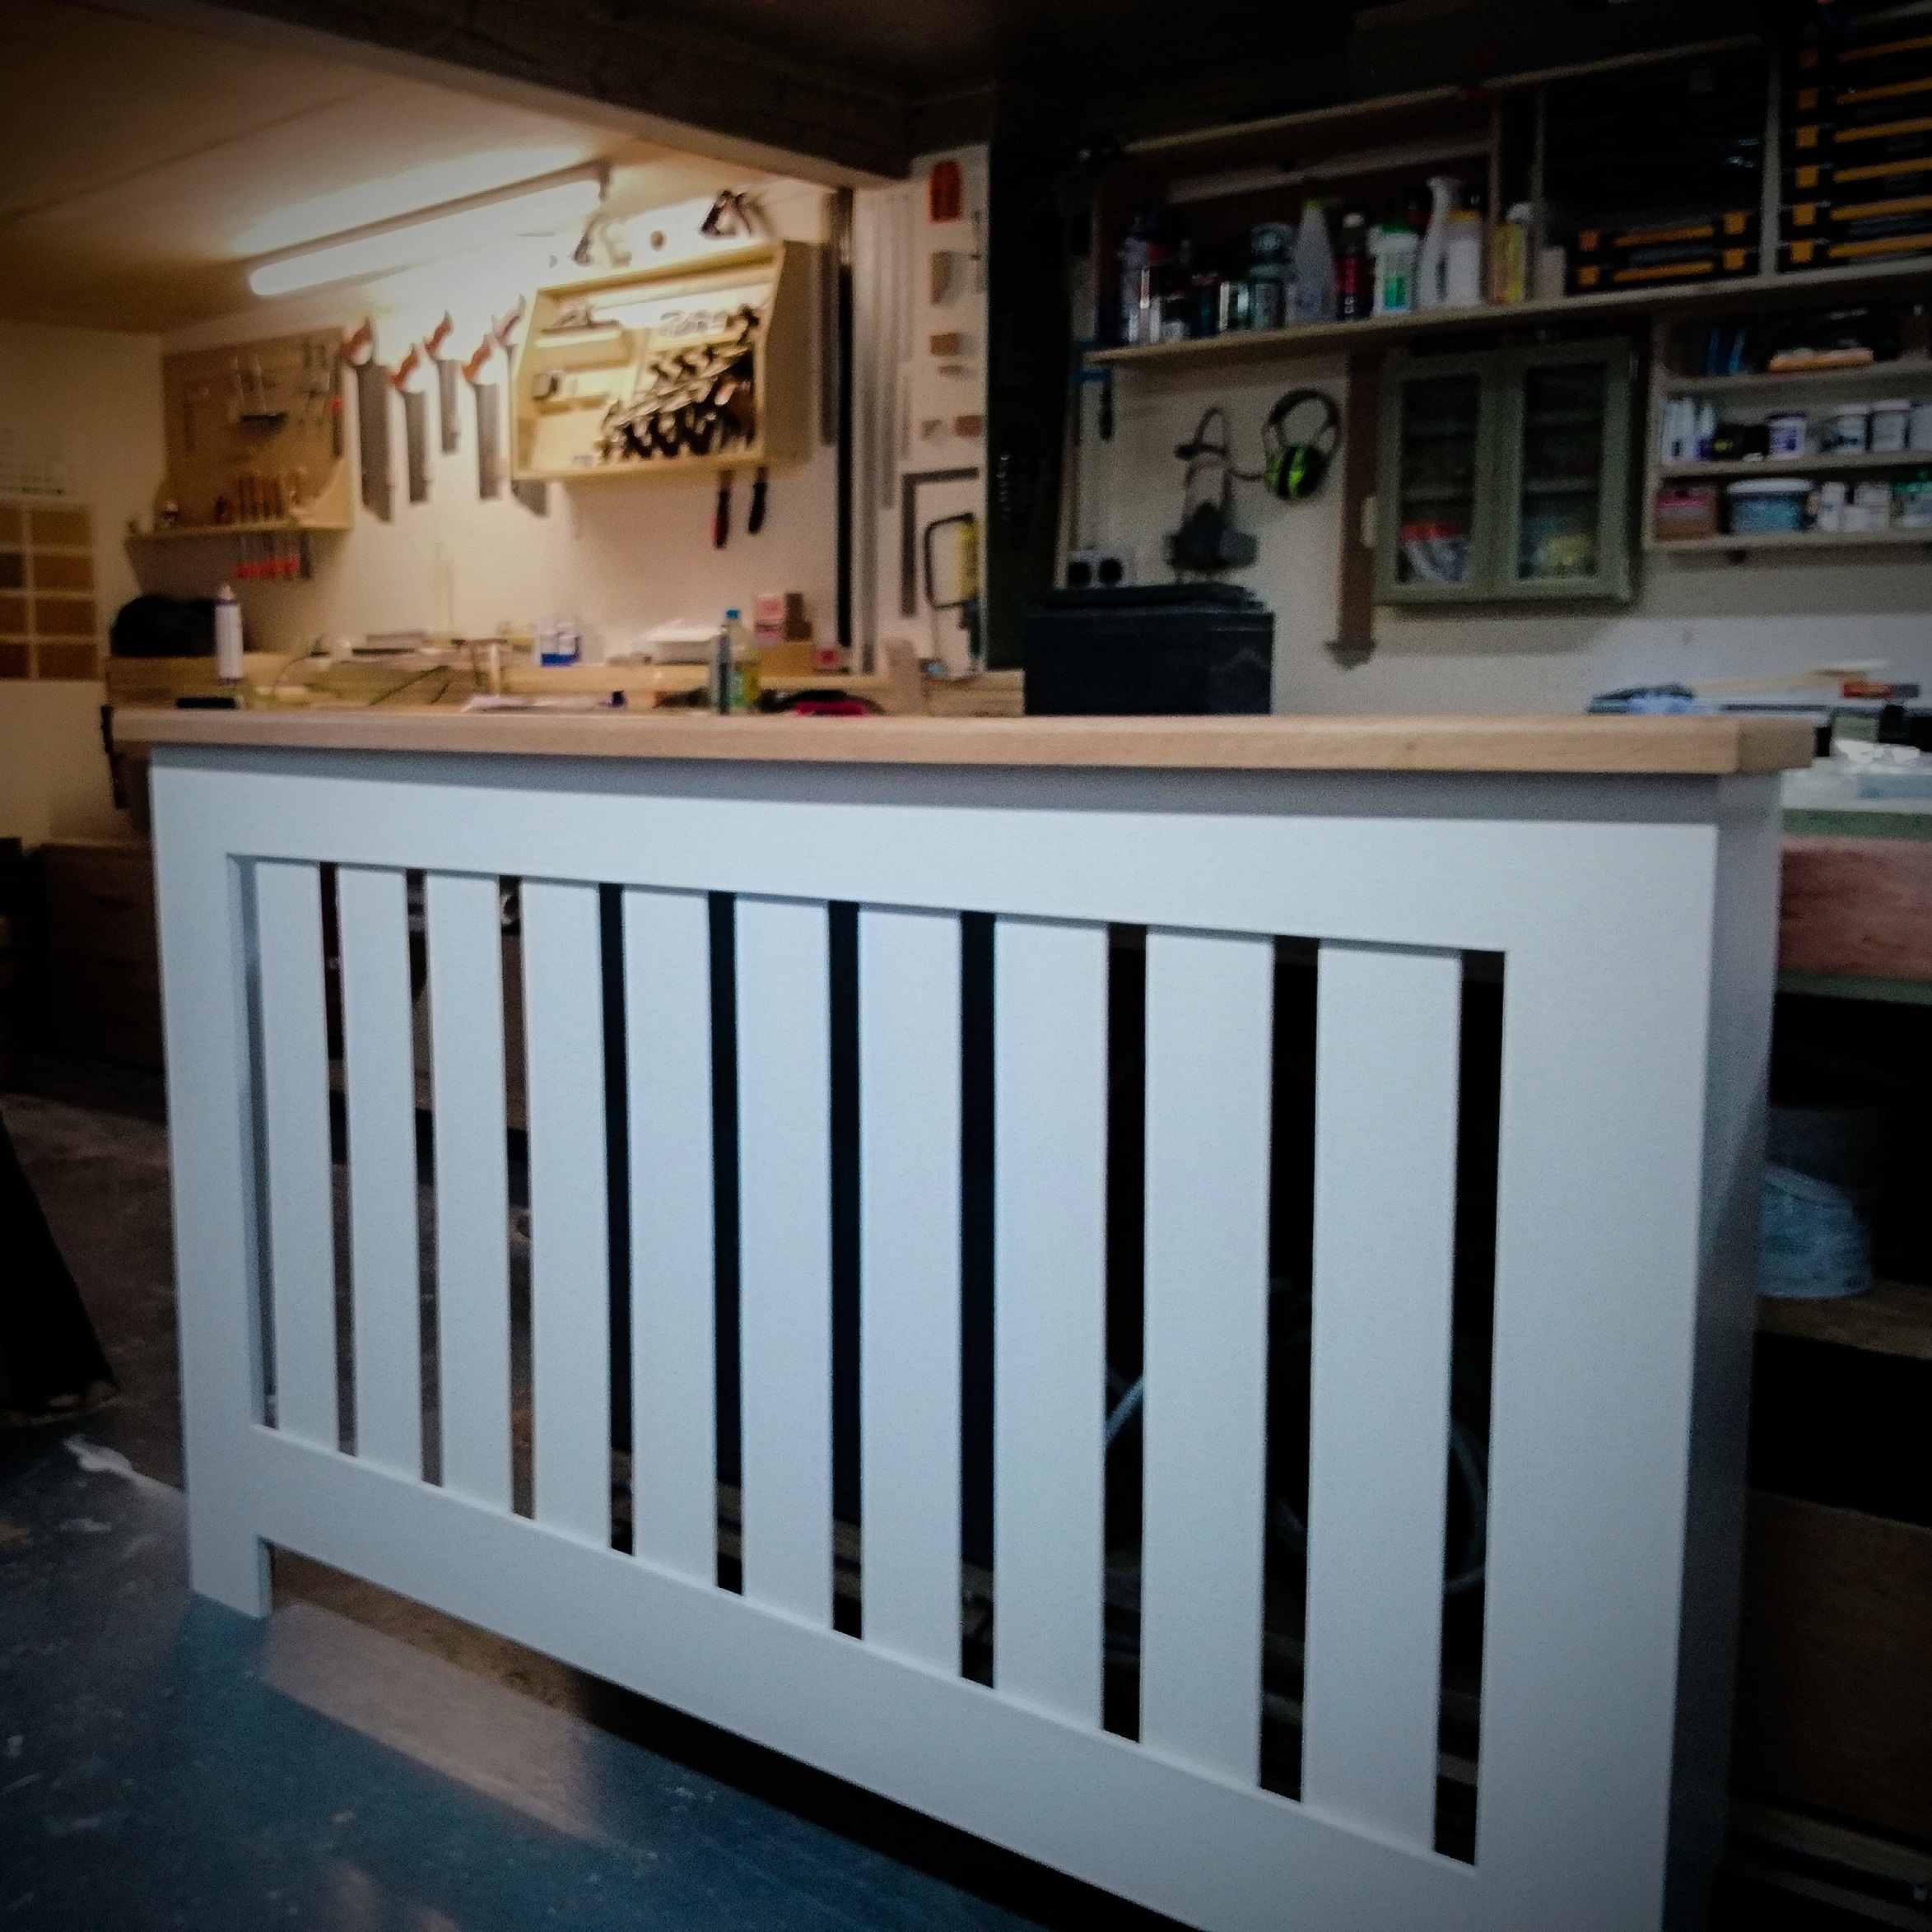
My Radiator Covers:
How I make Them & Why Mine Are Better Than Shop-Bought Flat-Packs!
Please don’t buy those flimsy flat-packed monstrosities, held together with matchstick dowels and a couple of poor screws…..They’re bloody awful. As you move the units from time to time to adjust the radiator valve it puts stress on the joints the screws begin to strip out of the low grade MDF used to make them and they begin to fail. Ive seen them after a year barely holing together where even a strong sneeze could finish them off.
Mine are made from a high quality 18mm moisture resistant MDF and built as one complete solid unit….rather than half a dozen boards screwed together.
I mitre the corners where the sides meet the front with a specially designed interlocking router cutter making the joint visually undetectable and locking the 2 pieces together in perfect alignment. All other connecting parts are joined with glued dominoes for strength and perfect alignment ensuring all surfaces are flawlessly flush to the touch. Once glued the unit is one solid piece and ready for painting.
As standard all my units come white. Sprayed with 2 primer coats followed by 2 Eggshell topcoats.
The top is made from 18mm Oak Veneered MDF with a solid oak lipping and finished with a hard wax oil leaving a warm and smooth touch to the timber.
To order your Radiator Cover you will need to provide me with 4 measurements…
· The width - Distance between the pipes/valves at either end of the radiator.
· The height - Distance from the floor to top of your radiator.
· The depth - Distance from the wall to the front/face of the radiator.
· Skirting board - Distance from the floor to the top of your skirting board.
Please Note: These items are made to order based on the measurements you provide so please ensure to check them carefully as responsibility cannot be accepted should the item not fit come delivery. But it’s never happened yet.


